- Details
- Category: Extensions Directory Team
At Cologne, part of the team attended to J and Beyond 2018 to develop the new JED 4 system, the next iteration of the directory.
-
In attendance: Jaz Parkyn, Anibal Sanchez and Hugh Douglas-Smith.
JED 4 - New System
-
JED 4
- Details
- Category: Extensions Directory Team

Today the Joomla! Extensions Directory (JED) team met at 2 pm GMT via Glip to discuss our progress of current tasks.
-
In attendance: Jaz Parkyn, Anibal Sanchez, Aleksander Kuczek, Dénes Székely, Mark Lee, Luca Marzo and Troy Hall.
-
Absent: Daniel Dubois, Darek Śnieg, Hugh Douglas-Smith, Markus Bopp, Martin Mueller, Miron Savan, Paul Franklin, Sotiris Katsaniotis.
- Details
- Category: Extensions Directory Team
If you want to change colors, font properties, spacing, backgrounds and other design features, adding a custom CSS file is the answer.
If you're using Protostar as template and want to tweak the look, don't edit template.css, instead use this cool feature available since Joomla 3.5 to load your own CSS file.
Let's start...
Step 1. Create a new CSS file
The file we will create should be named "user.css", so Protostar can load it automatically.
- Go to Extensions
- Templates
- Templates (button on the left)
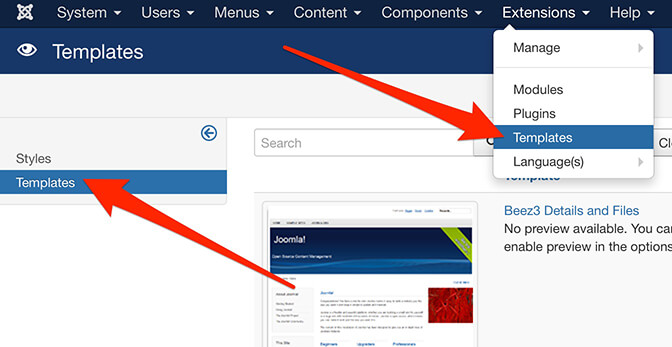
- Protostar Details and Files
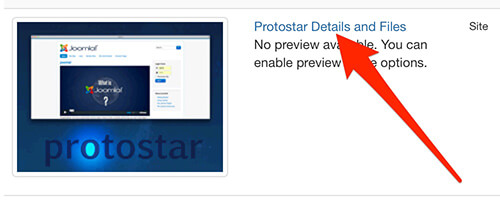
Here you can create template overrides and create new files.
- Click in New file button.
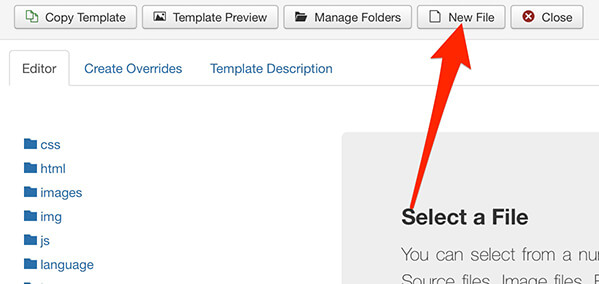
- Select the css folder
- Choose “css” as File type
- Type “user” as File name
- Click Create button

A successful message will confirm the creation of a new file where you can safely add your customisations in order to change the design of Protostar, the default Joomla template.
Step 2. Edit the new CSS file
- Edit the file user.css, located inside the css folder.
- On the right side of the screen, add your own custom CSS.
- Click Save when you’re done.
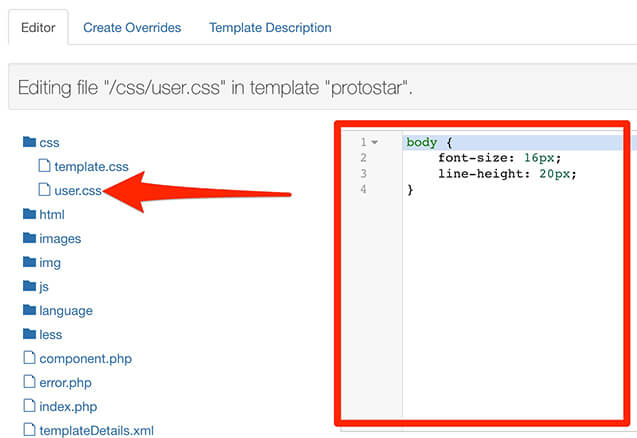
In my example, I’m increasing the size of the text using the font-size and line-height properties.
Step 3. End result
Visit the public face of your site. Protostar will automatically detect and load our custom code.
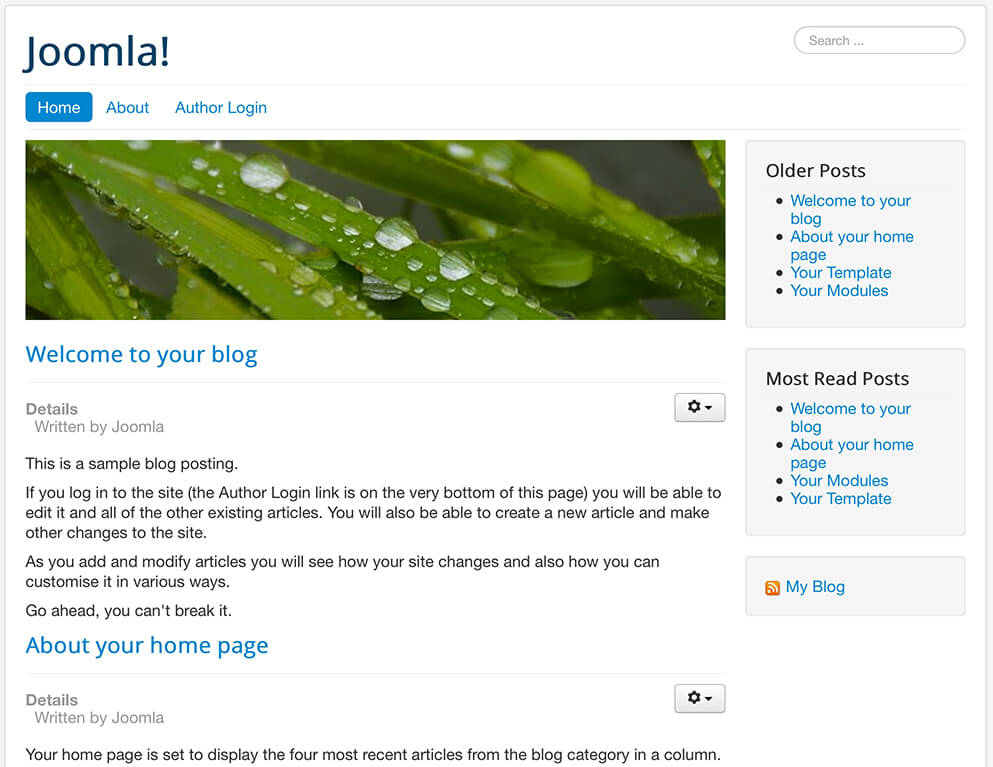
As you can see in the screenshot above, the text is bigger which means my tweaks are working. It doesn’t look good, but is enough to illustrate how the loading of custom CSS works in the default Joomla template.
Author
Valentín GarcíaRead more https://extensions.joomla.org/blog/item/load-custom-css-in-protostar-the-default-joomla-template
- Details
- Category: Extensions Directory Team
Joomla is charged with many options to make your website flexible and powerful. Those features are ready to cover specific needs, integrate new capabilities and make the content much easier to manage.
In this post I will share with you some tips that are worth taking the time to learn.
Speed up your website

Improving the speed is part of the list of basic requirements from any developer. We are talking about the time a website can take to load.
This result depends on many factors, such as number of images, CSS files, javascript files, and other files that a site loads for every page.
Try the following tip to enable cache and page compression:
Go to System > Global configuration > System > Cache: ON (start with Conservative caching then try Progressive)
System > Global configuration > Server > Gzip Page Compression: yes
Save and close
The improvement is not specific for all the sites; but is possible to make your site load 50% faster.
Protostar with full page width layout
By default, the protostar template comes with a boxed layout. To use the full width version, go to:
Extensions > Template manager > Protostar - default > Advanced > Fluid Layout: fluid
Save and close
Header tag for module titles
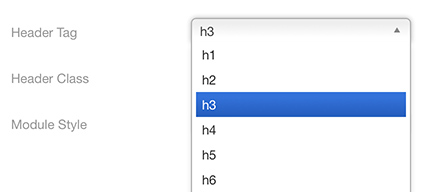
To change the tag that wraps the module title:
Extensions > Module manager > Your module > Advanced > Header tag. Choose: h1, h2, h2, h4, h5, h6, p or div.
Save and close
Note: this feature may work or not depending on the template you are using.
Save javascript in Custom HTML modules
Do you want to include javascript or iframe tags without getting stripped out after saving? Try this:
System > Global configuration > Default Editor: CodeMirror or None
Save and close
Then edit your module from Extensions > Module manager > Your custom HTML module.
Language overrides
If you need to customize the text from buttons or labels, look to the language manager:
Extensions > Language manager > Overrides > New
- In the search form type the text you want to translate, for example: “Read more”
- Click in the search button
- Locate the string you want to customize from the results
- In the left side of the screen edit the Text field
- Save and close
Versions: Ctrl + Z for articles
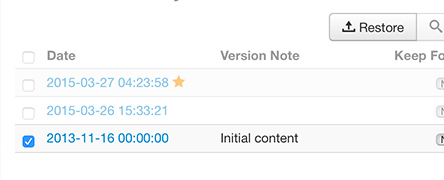
Joomla 3 allows to switch back to a previous version of an article.
Content > Article manager > Your article > Versions (button on top)
- Check one of the available versions
- Click restore
- Save and close
Enable menu editing in frontend
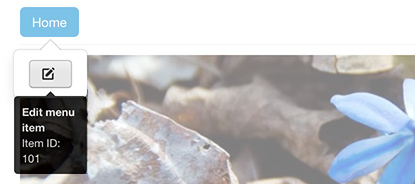
Edit your menu items starting from the public site:
System > Global configuration > Mouse-over Edit Icons for: modules & menus
Save and close
- Login in your frontend with a super user account.
- Place the cursor over the menu item, for example: “Home”.
- Click on the pencil icon to be redirected to the edit page in backend.
Voting for articles
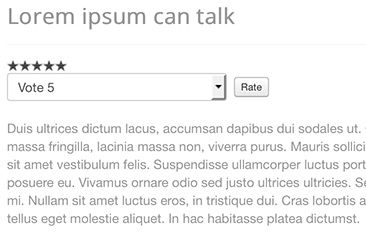
Your articles can receive ratings. To enable that functionality go to:
Content > Article manager > Options > Show voting: show
Author
Valentín GarcíaRead more https://extensions.joomla.org/blog/item/8-joomla-tips-to-make-your-life-easier
- Details
- Category: Extensions Directory Team
Create a website can be fun and easy when you are using the right tools. If your goal is build a very basic website and take your first steps into Joomla, this tutorial is for you.
Continue reading to learn how to create a website in 3 steps.
Recommendations
For this tutorial is recommend to have a hosting plan with a
domain name.
For example: yourdomain.com
However if you don’t have a hosting plan, use LAMP software to host the website in your computer. In this scenario the installation process would be different. For more details read:
Step 1. Install Joomla
Let’s install Joomla. Go to yourdomain.com/cpanel and login.
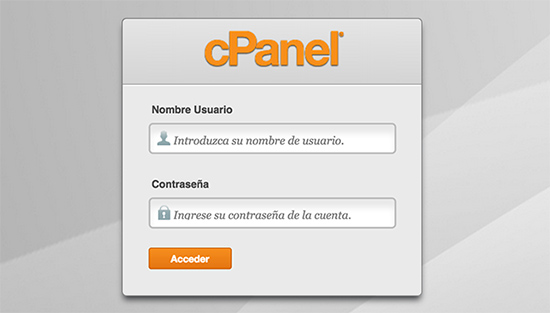
Be aware not all the hosting plans include CPanel, if that is your case ask to your hosting provider for assistance or try the regular installation process.
Back to CPanel, find the auto installer for Joomla; the location of this option may depends on your hosting provider and the CPanel version.
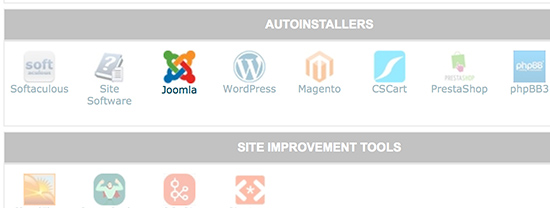
Fill all the information required such as database, site settings, language details and admin account. Pay special attention to admin account details, which consist in the username and password to login once Joomla is installed.
Find a reference for "Import sample data" if exist, as we don’t need the demo content set this option to none.
When you’re done click in "Install" button and wait for a successful message. If everything is fine, you will have a working Joomla site after a minute.
Step 2. Create the content
Go to yourdomain.com to see an empty website that needs to be feed with information.
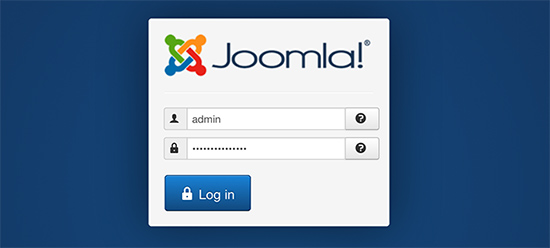
Login in the backend to make it happen from yourdomain.com/administrator
In this point you already know what content must be added. We will create articles that would become in pages later.
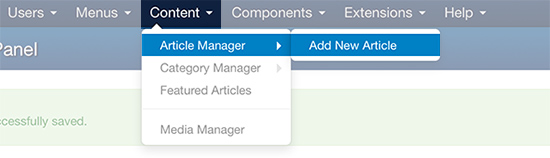
Go to Content > Article manager > Add new article
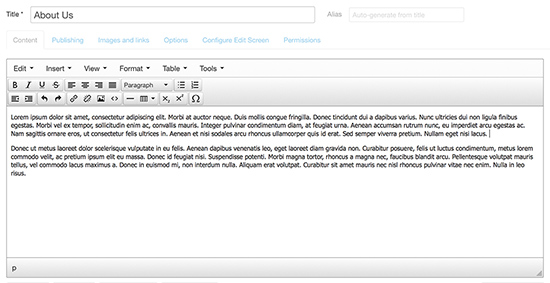
I created the "About us" article by typing the title and the content.
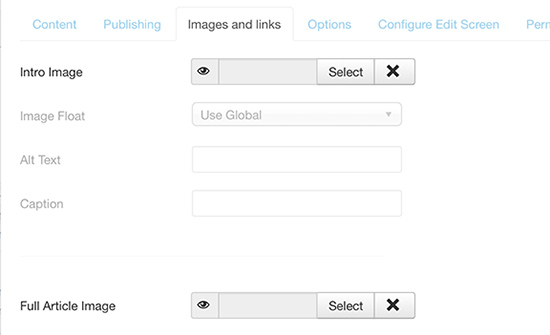
Optional: you can add images from Images & Links > Intro Image / Full article image
Click "Save & close" button when you’re done. Repeat the
same process for every article you need.
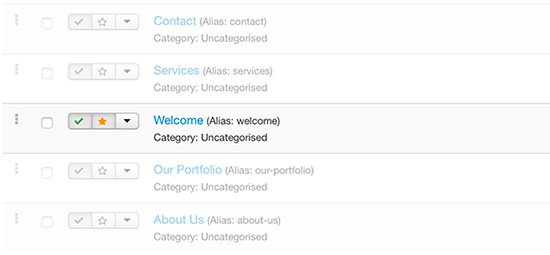
In my list I have 5 articles, including "Welcome" that will be
displayed in homepage by doing click in the star icon as the next
screenshot displays:
Step 3. Create the menu
We have articles, we need menu items to link to them.
Go to Menus > Main menu > Add new menu item
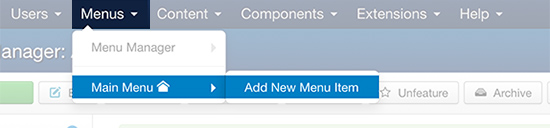
I created the "About us" menu item linked to the article with the same name.
- Choose the Menu item type: Articles > Single article
- Choose the article named "About Us"
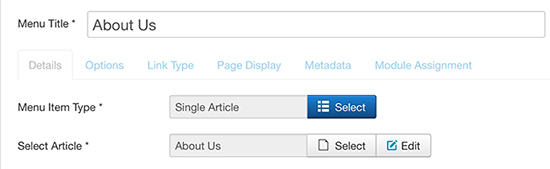
Click "Save & close" button when you’re done. Repeat the same process for every menu item you need.
Be aware the only exception is your home page (i. e. "welcome" article), you already have a menu item for that page.
In my list I have 5 menu items for my menu.
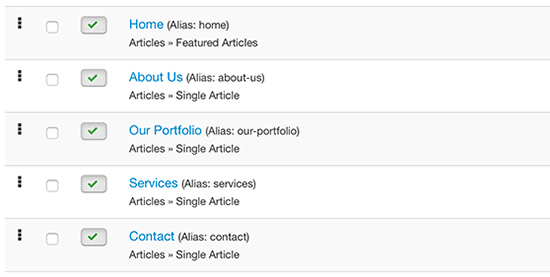
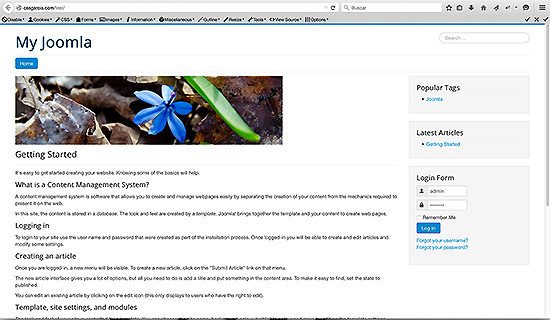
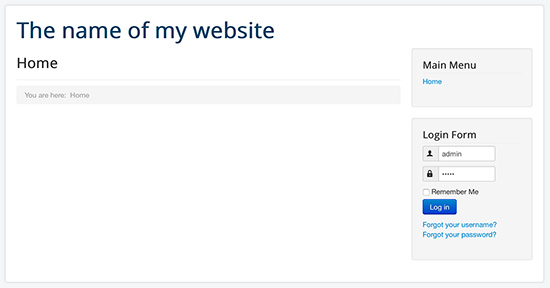
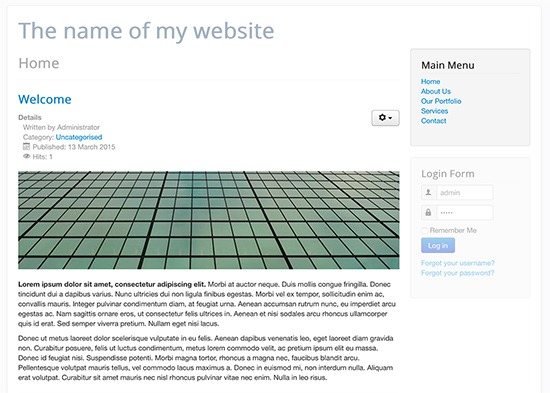
The last part is visit your public website to see the end result: the articles are loaded in the left, the menu in the right.
Author
Valentín GarcíaRead more https://extensions.joomla.org/blog/item/create-a-website-in-3-steps