- Details
- Category: Dev News
Creating rich, engaging, and interactive website experiences is a simple way to surprise, delight, and attract attention from website readers and users. Dynamic interactivity like instant search, form handling, and client-side “app-like” navigation where elements can persist across routes, all without a full page reload, can make the web a more efficient and interesting place for all.
But creating those experiences on WordPress hasn’t always been the easiest or most straightforward, often requiring complex JavaScript framework setup and maintenance.
Now, with the Interactivity API, WordPress developers have a standardized way for doing that, all built directly into core.
The Interactivity API started as an experimental plugin in early 2022, became an official proposal in March 2023, and was finally merged into WordPress core with the release of WordPress 6.5 on April 2, 2024. It provides an easier, standardized way for WordPress developers to create rich, interactive user experiences with their blocks on the front-end.
ELI5: The Interactivity API and the Image Block
Several core WordPress blocks, including the Query Loop, Image, and Search blocks, have already adopted the Interactivity API. The Image block, in particular, is a great way to show off the Interactivity API in action.
At its core, the Image blocks allow you to add an image to a post or page. When a user clicks on an image in a post or page, the Interactivity API launches a lightbox showing a high-resolution version of the image.
The rendering of the Image block is handled server-side. The
client-side interactivity, handling resizing and opening the
lightbox, is now done with the new API that comes bundled with
WordPress. You can bind the client-side interactivity simply by
adding the wp-on--click directive to the image
element, referencing the showLightbox action in
view.js.
You might say, “But I could easily do this with some JavaScript!” With the Interactivity API, the code is compact and declarative, and you get the context (local state) to handle the lightbox, resizing, side effects, and all of the other needed work here in the store object.
actions: {
                        showLightbox() {
                                const ctx = getContext();

                                // Bails out if the image has not loaded yet.
                                if ( ! ctx.imageRef?.complete ) {
                                        return;
                                }

                                // Stores the positons of the scroll to fix it until the overlay is
                                // closed.
                                state.scrollTopReset = document.documentElement.scrollTop;
                                state.scrollLeftReset = document.documentElement.scrollLeft;

                                // Moves the information of the expaned image to the state.
                                ctx.currentSrc = ctx.imageRef.currentSrc;
                                imageRef = ctx.imageRef;
                                buttonRef = ctx.buttonRef;
                                state.currentImage = ctx;
                                state.overlayEnabled = true;

                                // Computes the styles of the overlay for the animation.
                                callbacks.setOverlayStyles();
                        },
...
The lower-level implementation details, like keeping the server and client side in sync, just work; developers no longer need to account for them.
This functionality is possible using vanilla JavaScript, by selecting the element via a query selector, reading data attributes, and manipulating the DOM. But it’s far less elegant, and up until now, there hasn’t been a standardized way in WordPress of handling interactive events like these.
With the Interactivity API, developers have a predictable way to provide interactivity to users on the front-end. You don’t have to worry about lower-level code for adding interactivity; it’s there in WordPress for you to start using today. Batteries are included.
How is the Interactivity API different from Alpine, React, or Vue?
Prior to merging the Interactivity API into WordPress core, developers would typically reach for a JavaScript framework to add dynamic features to the user-facing parts of their websites. This approach worked just fine, so why was there a need to standardize it?
At its core, the Interactivity API is a lightweight JavaScript library that standardizes the way developers can build interactive HTML elements on WordPress sites.
Mario Santos, a developer on the WordPress core team, wrote in the Interactivity API proposal that, “With a standard, WordPress can absorb the maximum amount of complexity from the developer because it will handle most of what’s needed to create an interactive block.”
The team saw that the gap between what’s possible and what’s practical grew as sites became more complex. The more complex a user experience developers wanted to build, the more blocks needed to interact with each other, and the more difficult it became to build and maintain sites. Developers would spend a lot of time making sure that the client-side and server-side code played nicely together.
For a large open-source project with several contributors, having an agreed-upon standard and native way of providing client-side interactivity speeds up development and greatly improves the developer experience.
Five goals shaped the core development team’s decisions as they built the API:
- Block-first and PHP-first: Prioritizing blocks for building sites and server side rendering for better SEO and performance. Combining the best for user and developer experience.
- Backward-compatible: Ensuring compatibility with both classic and block themes and optionally with other JavaScript frameworks, though it’s advised to use the API as the primary method. It also works with hooks and internationalization.
- Declarative and reactive: Using declarative code to define interactions, listening for changes in data, and updating only relevant parts of the DOM accordingly.
- Performant: Optimizing runtime performance to deliver a fast and lightweight user experience.
- Send less JavaScript: Reduce the overall amount of JavaScript being sent on the page by providing a common framework that blocks can reuse. So the more that blocks leverage the Interactivity API, the less JavaScript will be sent overall.
Other goals are on the horizon, including improvements to client-side navigation, as you can see in this PR.
Interactivity API vs. Alpine
The Interactivity API shares a few similarities to Alpine—a lightweight JavaScript library that allows developers to build interactions into their web projects, often used in WordPress and Laravel projects.
Similar to Alpine, the Interactivity API uses directives directly in HTML and both play nicely with PHP. Unlike Alpine, the Interactivity API is designed to seamlessly integrate with WordPress and support server-side rendering of its directives.
With the interactivity API, you can easily generate the view from the server in PHP, and then add client-side interactivity. This results in less duplication, and its support in WordPress core will lead to less architectural decisions currently required by developers.
So while Alpine and the Interactivity API share a broadly similar goal—making it easy for web developers to add interactive elements to a webpage—the Interactivity API is even more plug-and-play for WordPress developers.
Interactivity API vs. React and Vue
Many developers have opted for React when adding interactivity to WordPress sites because, in the modern web development stack, React is the go-to solution for declaratively handling DOM interactivity. This is familiar territory, and we’re used to using React and JSX when adding custom blocks for Gutenberg.
Loading React on the client side can be done, but it leaves you with many decisions: “How should I handle routing? How do I work with the context between PHP and React? What about server-side rendering?”
Part of the goal in developing the Interactivity API was the need to write as little as little JavaScript as possible, leaving the heavy lifting to PHP, and only shipping JavaScript when necessary.
The core team also saw issues with how these frameworks worked in conjunction with WordPress. Developers can use JavaScript frameworks like React and Vue to render a block on the front-end that they server-rendered in PHP, for example, but this requires logic duplication and risks exposure to issues with WordPress hooks.
For these reasons, among others, the core team preferred Preact—a smaller UI framework that requires less JavaScript to download and execute without sacrificing performance. Think of it like React with fewer calories.
Luis Herranz, a WordPress Core contributor from Automattic, outlines more details on Alpine vs the Interactivity API’s usage of Preact with a thin layer of directives on top of it in this comment on the original proposal.
Preact only loads if the page source contains an interactive block, meaning it is not loaded until it’s needed, aligning with the idea of shipping as little JavaScript as possible (and shipping no JavaScript as a default).
In the original Interactivity API proposal, you can see the run-down and comparison of several frameworks and why Preact was chosen over the others.
What does the new Interactivity API provide to WordPress developers?
In addition to providing a standardized way to render interactive elements client-side, the Interactivity API also provides developers with directives and a more straightforward way of creating a store object to handle state, side effects, and actions.

Directives
Directives, a special set of data attributes, allow you to extend HTML markup. You can share data between the server-side-rendered blocks and the client-side, bind values, add click events, and much more. The Interactivity API reference lists all the available directives.
These directives are typically added in the block’s
render.php file, and they support all of the WordPress
APIs, including actions, filters, and core translation APIs.
Here’s the render file of a sample block. Notice the click event
(data-wp-on--click="actions.toggle"), and how we bind
the value of the aria-expanded attributes via directives.
<div
        <?php echo get_block_wrapper_attributes(); ?>
        data-wp-interactive="create-block"
        <?php echo wp_interactivity_data_wp_context( array( 'isOpen' => false ) ); ?>
        data-wp-watch="callbacks.logIsOpen"
>
        <button
                data-wp-on--click="actions.toggle"
                data-wp-bind--aria-expanded="context.isOpen"
                aria-controls="<?php echo esc_attr( $unique_id ); ?>"
        >
                <?php esc_html_e( 'Toggle', 'my-interactive-block' ); ?>
        </button>

        <p
                id="<?php echo esc_attr( $unique_id ); ?>"
                data-wp-bind--hidden="!context.isOpen"
        >
                <?php
                        esc_html_e( 'My Interactive Block - hello from an interactive block!', 'my-interactive-block' );
                ?>
        </p>
</div>
Do you need to dynamically update an element’s inner text? The
Interactivity API allows you to use data-wp-text on an
element, just like you can use v-text in Vue.
You can bind a value to a boolean or string using
wp-bind– or hook up a click event by using
data-wp-on–click on the element. This means you can
write PHP and HTML and sprinkle in directives to add interactivity
in a declarative way.
Handling state, side effects, and actions
The second stage of adding interactivity is to create a store,
which is usually done in your view.js file. In the
store, you’ll have access to the same context as in your
render.php file.
In the store object, you define actions responding to user interactions. These actions can update the local context or global state, which then re-renders and updates the connected HTML element. You can also define side effects/callbacks, which are similar to actions, but they respond to state changes instead of direct user actions.
import { store, getContext } from '@wordpress/interactivity';

store( 'create-block', {
        actions: {
                toggle: () => {
                        const context = getContext();
                        context.isOpen = ! context.isOpen;
                },
        },
        callbacks: {
                logIsOpen: () => {
                        const { isOpen } = getContext();
                        // Log the value of `isOpen` each time it changes.
                        console.log( `Is open: ${ isOpen }` );
                },
        },
} );
Try it out for yourself
The Interactivity API is production-ready and already running on WordPress.com! With any WordPress.com plan, you’ll have access to the core blocks built on top of the Interactivity API.
If you want to build your own interactive blocks, you can scaffold an interactive block by running the below code in your terminal:
npx @wordpress/create-block@latest my-interactive-block --template @wordpress/create-block-interactive-template
This will give you an example interactive block, with directives and state handling set up.
You can then play around with this locally, using
wp-env, using a staging site, or by uploading the
plugin directly to your site running a plugin-eligible WordPress.com plan.
If you want a seamless experience between your local dev setup and your WordPress.com site, try using it with our new GitHub Deployments feature! Developing custom blocks is the perfect use case for this new tool.
The best way to learn something new is to start building. To kick things off, you may find the following resources a good starting point:
- A first look at the Interactivity API
- Interactivity API WP Movies demo and demo video
- Follow along with this task for improvements coming to the Interactivity API
- Block editor reference
- Proposal: Interactivity API
- GitHub issue for showcase
Read more https://wordpress.com/blog/2024/04/17/interactivity-api/
- Details
- Category: Dev News

This week, the Laravel team released v11.4, with reversible form
Prompts, a new Exceptions facade, Enum support in the
Collection::mapInto() method, and more.
Introduce the Exceptions Facade
Nuno Maduro contributed the Exceptions
facade:
The Exceptions facade provides a consistent way to test exceptions in Laravel applications. Here is the list of methods that the Exceptions facade provides:
assertReportedassertReportedCountassertNotReportedassertNothingReportedthrowOnReportthrowFirstReported
Here's an example from the pull request description illustrating the
Exceptions::fake() method and
assertReported() method:
use Illuminate\Support\Facades\Exceptions;

test('example', function () {
    Exceptions::fake();

    $this->post('/generate-report', [
        'throw' => 'true',
    ])->assertStatus(503); // Service Unavailable

    Exceptions::assertReported(ServiceUnavailableException::class);

    // or
    Exceptions::assertReported(function (ServiceUnavailableException $exception) {
        return $exception->getMessage() === 'Service is currently unavailable';
    });
});
See the Exception Handling section of the HTTP Tests documentation for usage details.
Livewire-style Directives
@devajmeireles contributed the ability to use Boolean-style directives, without any defined value:
{{-- Before  --}}

<x-fetch wire:poll />

{{-- Generates this HTML --}}

<div ... wire:poll="wire:poll" />

{{-- After  --}}
<x-fetch wire:poll />

<div ... wire:poll />
Reversible Forms in Prompts
Luke Downing contributed form prompts, which are a grouped set of prompts for the user to complete. Forms include the ability to return to previous prompts and make changes without having to cancel the command and start over:
use function Laravel\Prompts\form;

$responses = form()
    ->text('What is your name?', required: true)
    ->password('What is your password?', validate: ['password' => 'min:8'])
    ->confirm('Do you accept the terms?')
    ->submit();
Here's an example of using values from previous responses:
$responses = form()
    ->text('What is your name?', name: 'name')
    ->add(fn () => select('What is your favourite language?', ['PHP', 'JS']), name: 'language')
    ->add(fn ($responses) => note("Your name is {$responses['name']} and your language is {$responses['language']}"))
    ->submit();
See Pull
Request #118 in the laravel/prompts project for
implementation details. This feature is already documented in the
Prompts documentation.
Add Support for Enums on mapInto Collection
Method
Luke Downing contributed support for Enums on
the Collection::mapInto() method, which allows you to
build up enums from an array of values:
public function store(Request $request)
{
    $request->validate([
        'features' => ['array'],
        'features.*' => [new Enum(Feature::class)],
    ]);

    $features = $request
        ->collect('features')
        ->mapInto(Feature::class);

    if ($features->contains(Feature::DarkMode)) {
        // ...
    }
}
An afterQuery() Hook
Günther Debrauwer contributed an
afterQuery() hook to run code after running a
query:
$query->afterQuery(function ($models) {
    // Make changes to the queried models ...
});
Here's a use-case example from the pull request's description:
// Before

public function scopeWithIsFavoriteOf($query, ?User $user = null) : void
{
    if ($user === null) {
        return $query;
    }

    $query->addSelect([
        // 'is_favorite' => some query ...
    ]);
}

$products = Product::withIsFavoriteOf(auth()->user())->get();

if (auth()->user() === null) {
    $products->each->setAttribute('is_favorite', false);
}
And here's the code using the afterQuery()
hook:
// After

public function scopeWithIsFavoriteOf($query, ?User $user = null) : void
{
    if ($user === null) {
        $query->afterQuery(fn ($products) => $products->each->setAttribute('is_favorite', false));

        return;
    }

    $query->addSelect([
        // 'is_favorite' => some query ...
    ]);
}

Product::withIsFavoriteOf(auth()->user())->get();
Release notes
You can see the complete list of new features and updates below and the diff between 11.3.0 and 11.4.0 on GitHub. The following release notes are directly from the changelog:
v11.4.0
- [11.x] Apc Cache - Remove long-time gone apc_* functions by @serpentblade in https://github.com/laravel/framework/pull/51010
- [11.x] Allowing Usage of Livewire Wire Boolean Style Directives by @devajmeireles in https://github.com/laravel/framework/pull/51007
- [11.x] Introduces
Exceptionsfacade by @nunomaduro in https://github.com/laravel/framework/pull/50704 - [11.x]
afterQueryhook by @gdebrauwer in https://github.com/laravel/framework/pull/50587 - Fix computed columns mapping to wrong tables by @maddhatter in https://github.com/laravel/framework/pull/51009
- [11.x] improvement test for string title by @saMahmoudzadeh in https://github.com/laravel/framework/pull/51015
- [11.x] Fix failing
afterQuerymethod tests when using sql server by @gdebrauwer in https://github.com/laravel/framework/pull/51016 - [11.x] Fix: Apply database connection before checking if the repository exist by @sjspereira in https://github.com/laravel/framework/pull/51021
- [10.x] Fix error when using
orderByRaw()in query before usingcursorPaginate()by @axlon in https://github.com/laravel/framework/pull/51023 - [11.x] Add RequiredIfDeclined validation rule by @timmydhooghe in https://github.com/laravel/framework/pull/51030
- [11.x] Adds support for enums on
mapIntocollection method by @lukeraymonddowning in https://github.com/laravel/framework/pull/51027 - [11.x] Fix prompt fallback return value when using numeric keys by @jessarcher in https://github.com/laravel/framework/pull/50995
- [11.x] Adds support for
intbacked enums to implicitEnumroute binding by @monurakkaya in https://github.com/laravel/framework/pull/51029 - [11.x] Configuration to disable events on Cache Repository by @serpentblade in https://github.com/laravel/framework/pull/51032
- Revert "[11.x] Name of job set by displayName() must be honoured by S… by @RobertBoes in https://github.com/laravel/framework/pull/51034
- chore: fix some typos in comments by @laterlaugh in https://github.com/laravel/framework/pull/51037
- Name of job set by displayName() must be honoured by Schedule by @SCIF in https://github.com/laravel/framework/pull/51038
- Fix more typos by @szepeviktor in https://github.com/laravel/framework/pull/51039
- [11.x] Fix some doc blocks by @saMahmoudzadeh in https://github.com/laravel/framework/pull/51043
- [11.x] Add @throws ConnectionException tag on Http methods for IDE support by @masoudtajer in https://github.com/laravel/framework/pull/51066
- [11.x] Add Prompts
textareafallback for tests and add assertion tests by @lioneaglesolutions in https://github.com/laravel/framework/pull/51055 - Validate MAC per key by @timacdonald in https://github.com/laravel/framework/pull/51063
- [11.x] Add
throttlemethod toLazyCollectionby @JosephSilber in https://github.com/laravel/framework/pull/51060 - [11.x] Pass decay seconds or minutes like hour and day by @jimmypuckett in https://github.com/laravel/framework/pull/51054
- [11.x] Consider after_commit config in SyncQueue by @hansnn in https://github.com/laravel/framework/pull/51071
- [10.x] Database layer fixes by @saadsidqui in https://github.com/laravel/framework/pull/49787
- [11.x] Fix context helper always requiring
$keyvalue by @nikspyratos in https://github.com/laravel/framework/pull/51080 - [11.x] Fix
expectsChoiceassertion with optionalmultiselectprompts. by @jessarcher in https://github.com/laravel/framework/pull/51078
The post Reversible Form Prompts and a New Exceptions Facade in Laravel 11.4 appeared first on Laravel News.
Join the Laravel Newsletter to get all the latest Laravel articles like this directly in your inbox.
Read more https://laravel-news.com/laravel-11-4-0
- Details
- Category: Dev News
Congratulations are in order for Scottie Scheffler, the winner of the 2024 Masters Tournament in Augusta, Georgia! In today’s Build and Beyond video, Jamie Marsland takes on the slightly less intimidating task of re-creating the Masters website as quickly as he can. Can he possibly do it in just 30 minutes?
Along the way, you’ll learn about sticky navigation menus, image overflows and breakouts, card layouts, and more.
Interested in a free trial that allows you to test our all that WordPress.com has to offer? Click below:
WordPress.com/JamieRead more https://wordpress.com/blog/2024/04/16/masters-tournament-website/
- Details
- Category: Dev News
It's 2024 and I'm calling it - Server-Side Rendering has officially made a comeback:
- in Laravel, where Livewire now has 46.000 installs per day
- in Ruby on Rails with Hotwire
- in Phoenix with Liveview
- in web dev in general with HTMX
Now that "the old has become the new"... maybe it's time to re-visit another practice we've adopted from the Javascript ecosystem. Maybe it's time to... drop the build step? Crazy, I know! But there's been a lot of talk about no-build Laravel setups in my bubble. And there's one place where people invariably get stuck - "If we drop NPM, what do we do about JS dependencies?". Here's my answer to that - or at least an important first step.
What if instead of installing our JS dependencies with a package manager like NPM and bundling them... we just load them directly from the URL? You know... similarly to what the founder of NodeJS himself is doing in Deno. He has publicly said NPM has become a mess and created an alternative for the JS ecosystem... why don't we do the same for the Laravel ecosystem?
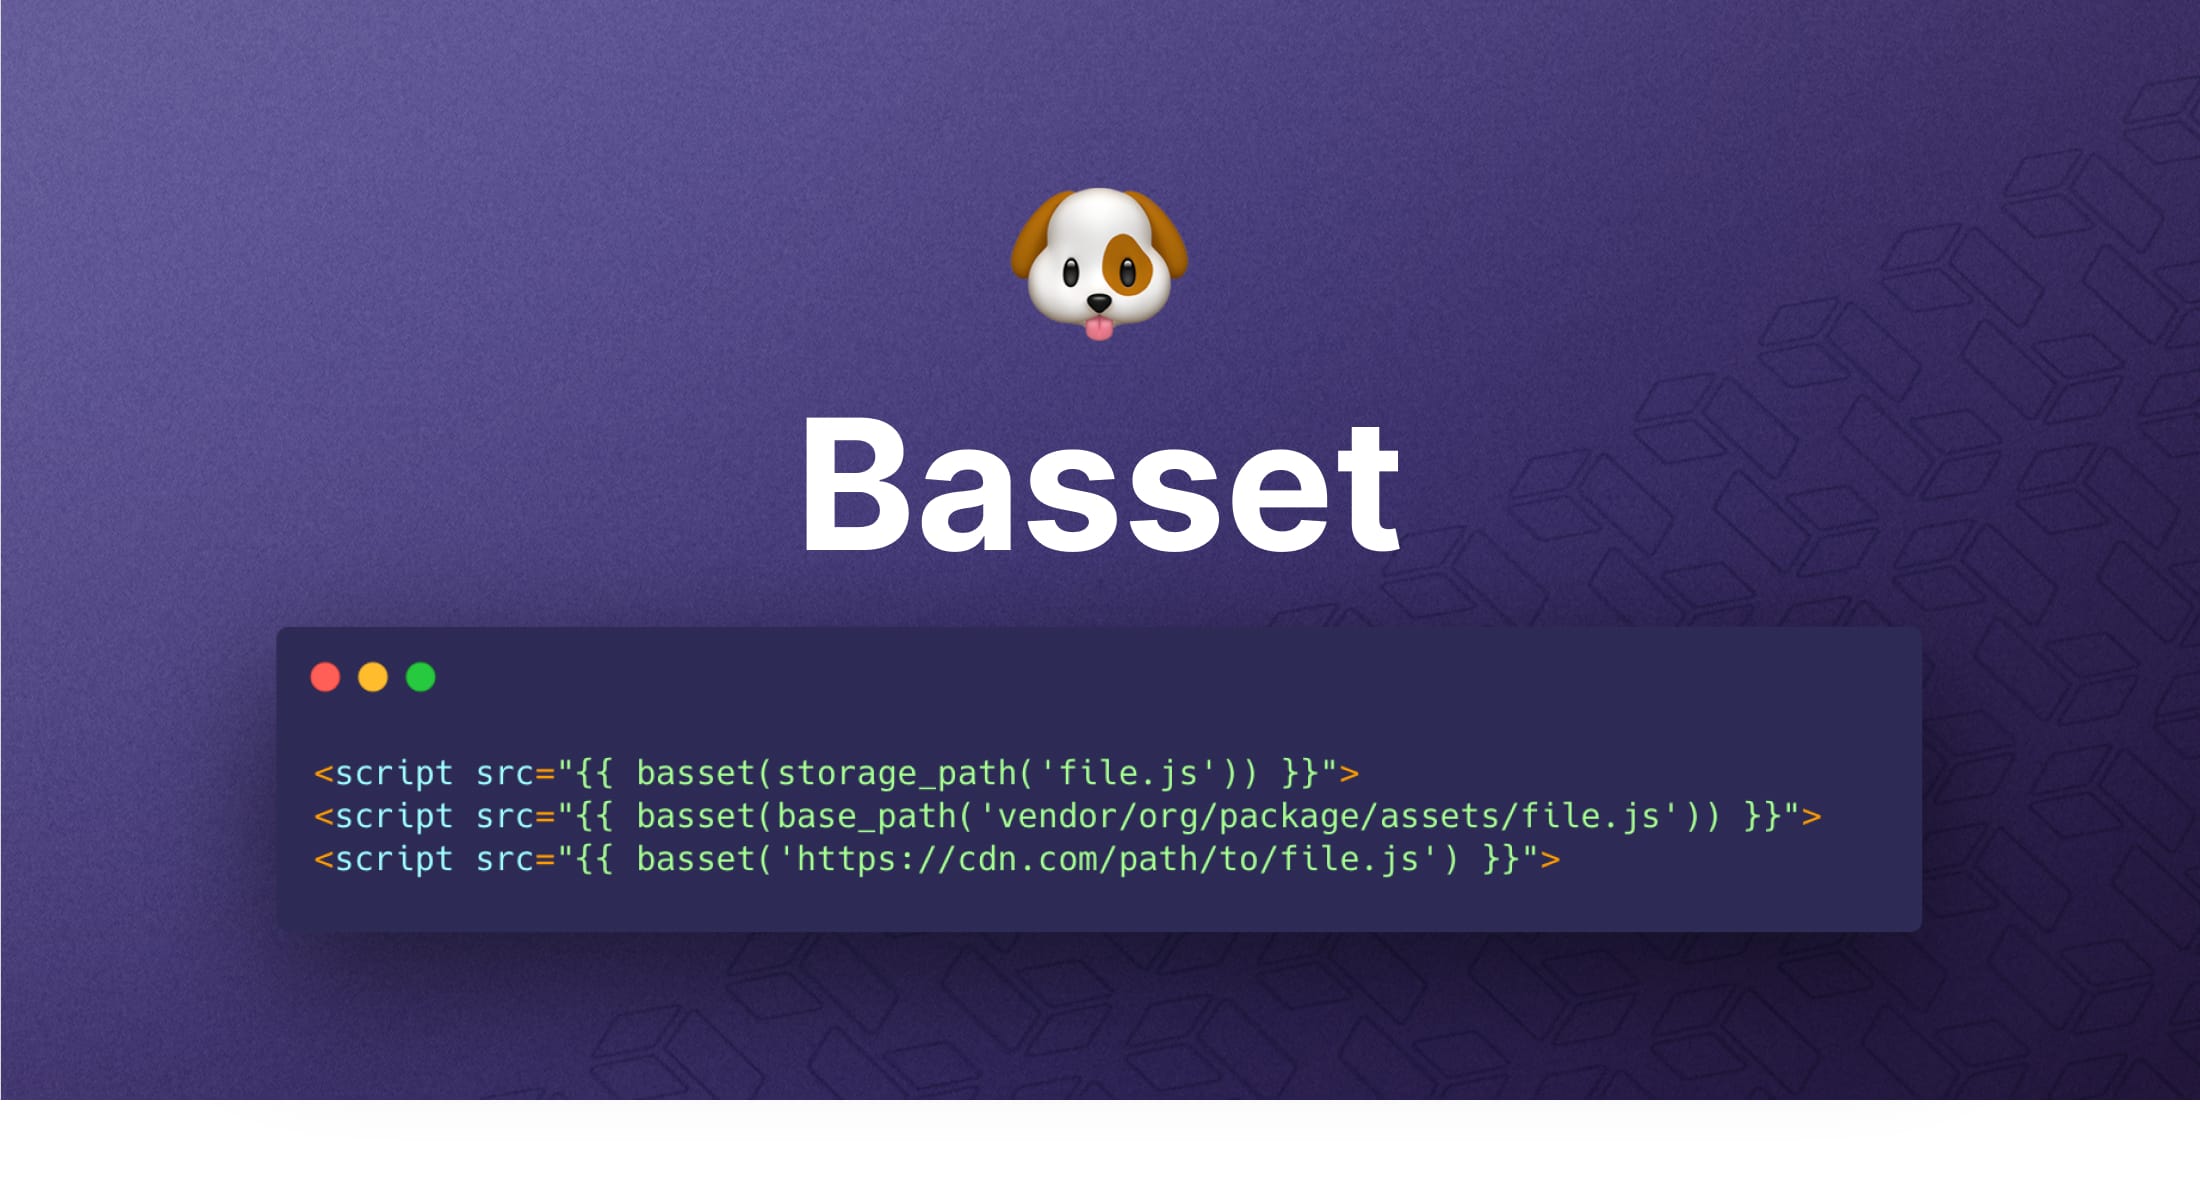
If you dream about the simple days when you could just
load assets using asset(), try Basset
- a better asset helper for Laravel. You just replace
asset() with basset() to gain some
super-powers:
- assets from CDNs are downloaded to
/storageand served from there; - vendor assets become possible to load;
- non-public assets become possible to load;
- it becomes impossible to double-load an asset during a request;
In short, basset() removes the limitations of
asset(), allowing you to load any asset you want,
safely. That means in addition to this:
<link href="/{{ asset('path/to/public/file.css') }}">
You can safely do this:
<script src="/{{ basset(storage_path('file.js')) }}">
<script src="/{{ basset(base_path('vendor/org/package/assets/file.js')) }}">
<script src="/{{ basset('https://cdn.com/path/to/file.js') }}">
This is a very simple solution for those who want to load assets "the old easy way" in their Laravel projects, because it solves a few problems with that "old way":
- Don't want GDPR issues?
/storage and
serve it from there.
- Don't want to depend on a CDN being up?
- Don't want to load an asset twice, if used by multiple components on that page?
- Concerned about the performance of loading multiple JS files vs one big bundle?
HTTP/2, which makes it performant to load multiple Javascript
assets on a single page.
Granted, Basset may not be a perfect asset loading solution. At least not for every project. It's only been around for 12 months, so it's missing things like importmaps and the like, to make it a 1-to-1 alternative to NPM and Deno's way. But it has been around for 12 months and has proven its usefulness.
Perhaps... it's time for us to take another look at how we load assets in our Laravel projects. Maybe we'll discover the simple way... is a good way. For some projects, at least. I suggest you give Basset a try. After all:
- it's been in production for 1 year already;
- it's maintained by the Backpack team;
- it's got 110.000 downloads already;
- it's under MIT License;
If you have feedback on it, open an issue on Github and tell the team about it. A v2 is due soon enough, and we want to incorporate as much feedback as possible.
The post Basset is an alternative way to load CSS & JS assets appeared first on Laravel News.
Join the Laravel Newsletter to get all the latest Laravel articles like this directly in your inbox.
Read more https://laravel-news.com/basset
- Details
- Category: Dev News
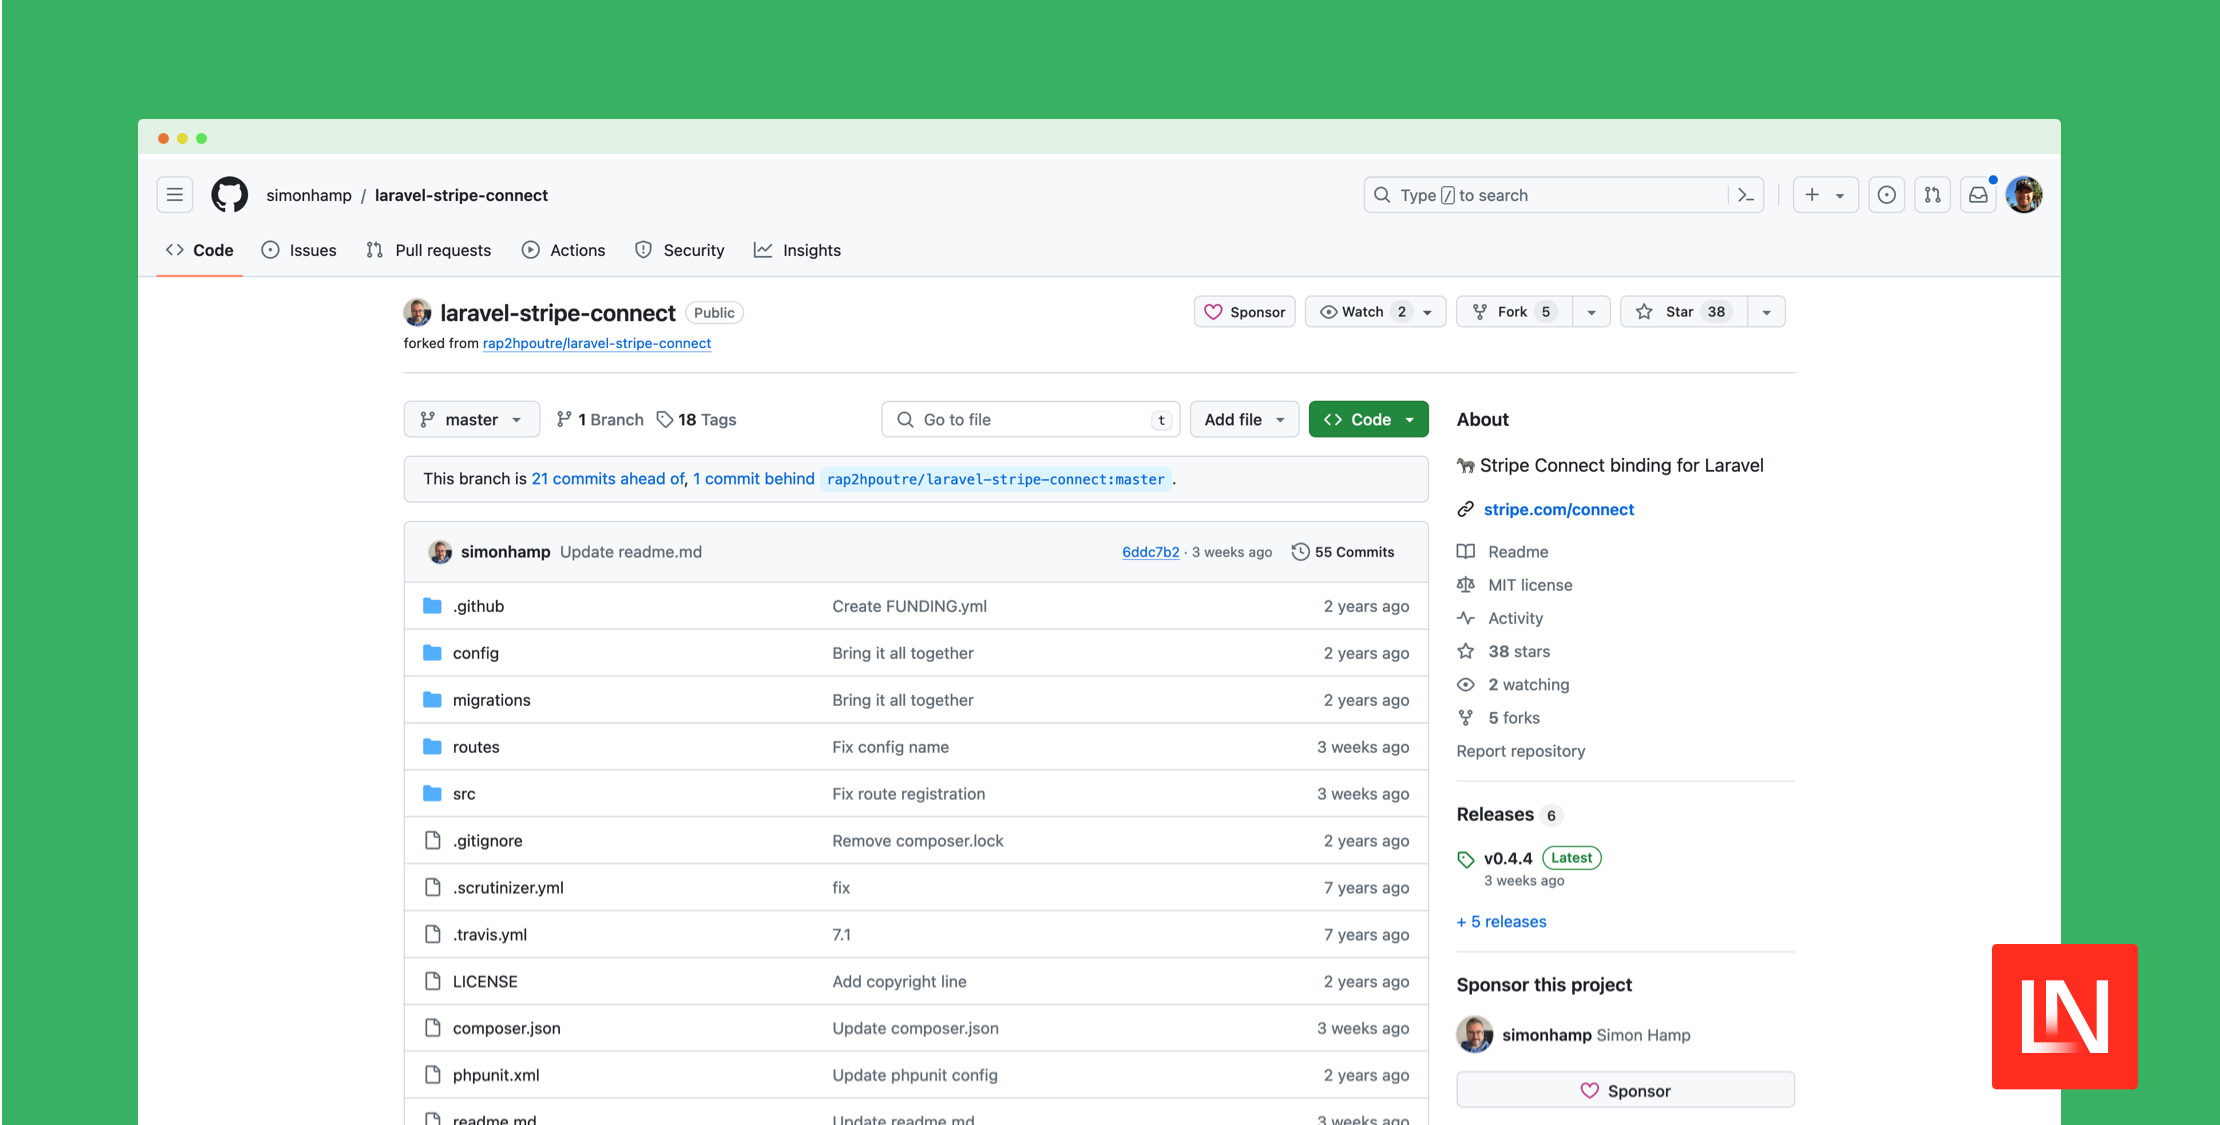
Laravel Stripe Connect helps you start your own marketplace platform using Stripe Connect, which allows you to make payments to your recipients directly from your Stripe account to theirs. Using the provided package, you can quickly set up your application's users, connect them to your Stripe account, and start making payouts.
Using the Payable trait in this package, you can
onboard users and then start sending them payments:
use SimonHamp\LaravelStripeConnect\Traits\Payable;

class User extends Model
{
    use Payable;
}

// After onboarding, send the user $100.00 USD
auth()->user()->pay(10000, 'usd');
This package assumes that the User model represents
the recipient, but the documentation outlines how to change the
model used if a different model represents your recipients.
You can learn more about this package, get full installation instructions, and view the source code on GitHub. You must have a Stripe Connect account to get started, and you can learn more about Stripe Connect through the documentation.
The post Integrate Laravel with Stripe Connect Using This Package appeared first on Laravel News.
Join the Laravel Newsletter to get all the latest Laravel articles like this directly in your inbox.
Read more https://laravel-news.com/laravel-stripe-connect