With Apple’s release of the Vision Pro, we’ve been getting a lot of questions around incorporating Augmented Reality (AR) and Capacitor. The truth is that while it’s possible to add AR to your Capacitor projects, creating those experiences can be fairly difficult even within native Apple applications. The process of developing AR experiences is dependent on the types of experiences you are trying to create, how immersive you want the experience to be, and how far you are willing to go into native code to make it work. That combined with knowledge of 3D modeling, animation, photogrammetry, and several other areas of domain expertise can make it daunting.
For this tutorial, I wanted to find a simpler way to incorporate AR into a Capacitor application. A project that didn’t require Swift, could use all web-based technologies, and could introduce the Ionic community to AR to make it approachable. To accomplish this, I created a basic e-commerce application where you could view what you want to buy using AR.
Caveats
There are a few limitations with this project:
- This only works on Apple devices
- Requires Safari
- Some parts of the tutorial require extra applications that will not be covered
It’s understandable to question to usefulness of a Capacitor application that only works on Apple devices and Safari so it’s important to address this question early in this tutorial: I can really only recommend this if you are creating or have a cross-platform application where you are looking to enhance the user experience for Apple device users of your applications. If you plan to just create an AR application for Apple devices, you might be better suited creating this with Swift/SwiftUI. Beyond this tutorial, you will likely need to use some amount of Swift, and incorporating Capacitor might make development more difficult if you plan to keep this within the Apple ecosystem.
As for the extra applications I referenced above, this pertains to the use of photogrammetry with Reality Composer that I used to get my own 3D model into the project demo. Reality Composer and photogrammetry isn’t particularly difficult to learn, but it is something that could be its own tutorial. It’s also not entirely relevant to using AR Quick Look in a Capacitor application but I will be adding resources so that if you have your own store, you can learn how to create 3D models of your real world objects to use in your Capacitor projects.
Architecture

There were a few considerations for the architecture of this project:
- AR Quick Look has to utilize Safari in order to avoid using native code
- USDZ files, depending on the resolution and storage strategy, can grow our application substantially
- Apple Pay parameters aren’t recognized within a Capacitor application
The first consideration with AR-based applications, especially AR Quick Look, is that it either requires utilizing ARKit or Safari for it to function. While ARKit is powerful and would allow us to create a better look and feel to our application it would also require us to create a custom Capacitor plugin with native code. Making the project more difficult and not as approachable to web developers looking to learn how to add AR functionality to their Capacitor applications. So my solution to bypass this was to utilize the browser plugin to keep the experience in-app (a standard hyperlink will work but it will open Safari instead of keeping the experience in your application).
The second consideration involved the size of USDZ files and how it would impact the size of a mobile application. While a demo like this is still small and the USDZ could be stored directly on the device it became clear that any real world application would need to develop a different strategy. So, in an effort to try to make this more realistic, I made the decision to utilize AWS S3 to make the Capacitor application smaller.
The final consideration was that I wanted to show more than a 3D model and incorporate banners so that you can extend the functionality of your AR applications. Unfortunately, after numerous tests, I discovered that the standard view architecture won’t recognize the banner parameters found in the documentation so I created an intermediary web application for Safari to handle the banner instead. I believe this has something to do with using S3 but I wanted to avoid getting caught up with too much S3 configuration for this project.
Storage and Static Website Setup (AWS S3)
The first step to get this project running is to get the location where we are going to store our USDZ files and the static website used for the Apple Pay View. Now there are a multitude of ways to accomplish this but the way that I am most familiar with is using AWS’ S3 solution. S3 is not a must for your project but you do need to find a spot to store your files and the static website so use the solution that works best for you. Let’s start with creating the bucket where we are going to store our USDZ files:
- Go to aws.amazon.com, login, and navigate to S3
- Click on “Create Bucket”

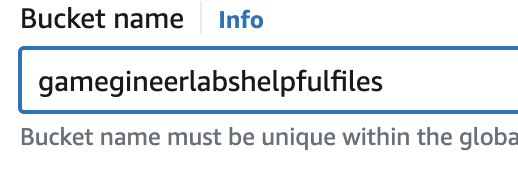
- Name your new bucket
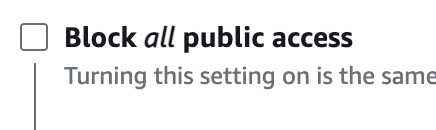
- Uncheck “Block all public access”
- Scroll down and create the bucket

- Navigate back to the bucket list, find your newly created bucket and click into it

- Click “Permissions”

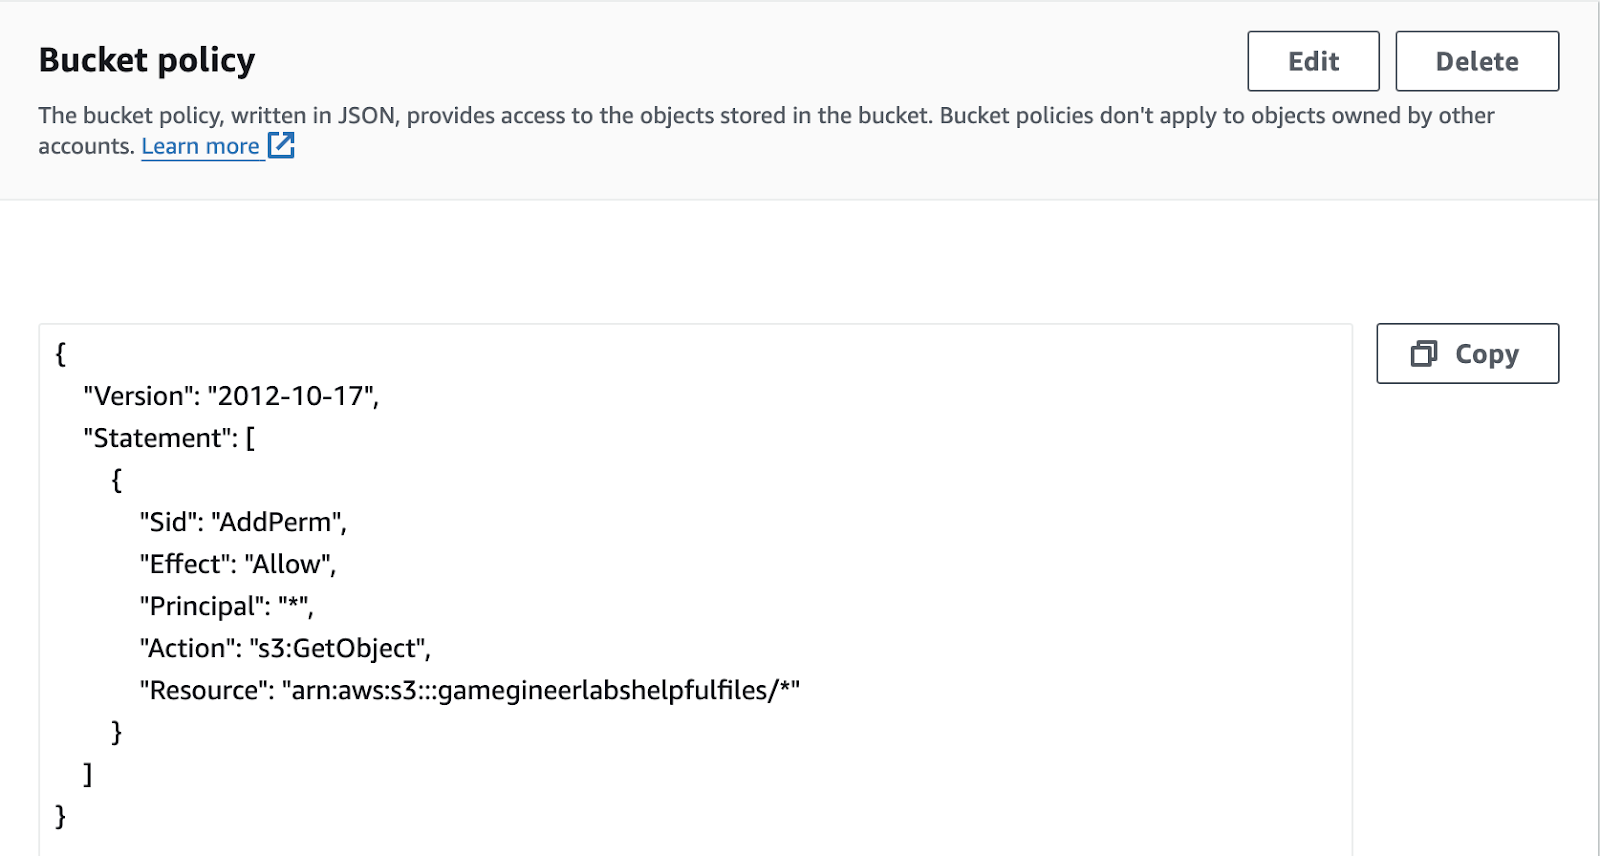
- Scroll to “Bucket Policy” and edit the bucket policy with the following JSON
{
    "Version": "2012-10-17",
    "Statement": [
        {
            "Sid": "AddPerm",
            "Effect": "Allow",
            "Principal": "*",
            "Action": "s3:GetObject",
            "Resource": "arn:aws:s3:::bucketname/*"
        }
    ]
}
Next let’s create the static website bucket:
- Follow steps 1-8 of the previous bucket setup but use a different name (I used arquicklookwebsite)
- Navigate to “Properties”

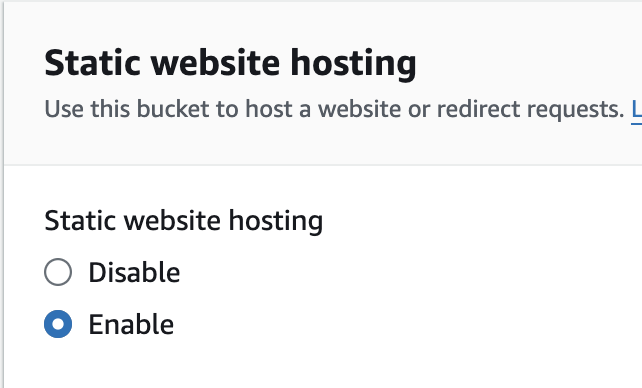
- Scroll down to “Static website hosting” and click
“edit
- Click “Enable”
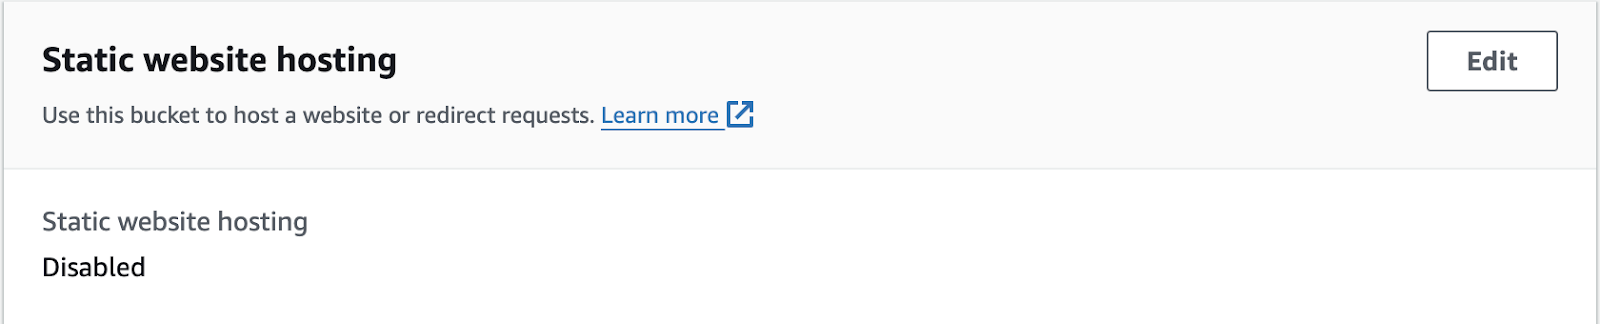
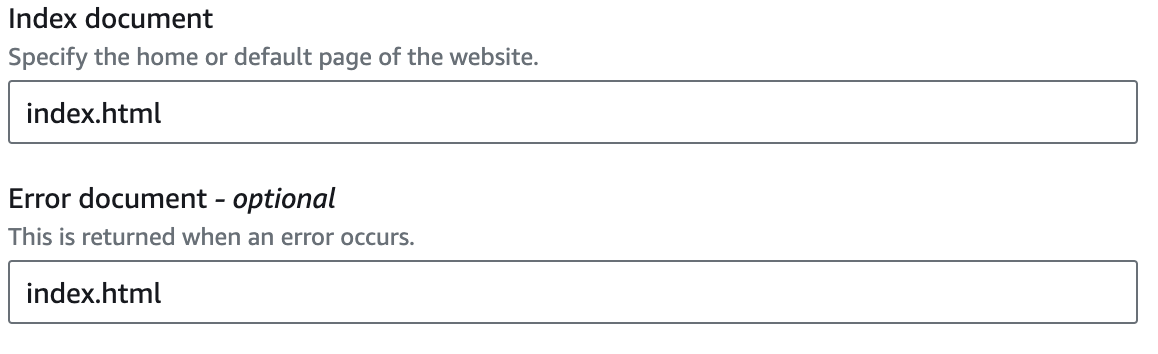
- Change “Index document” and “Error document” to work with your
static website (I used Angular so I changed both to index.html as
this will force my static website to handle errors
internally).
- Save changes
3D Files
The Next step is to get our USDZ files and upload them into the bucket that we made to store those files. The first two files I’ll be using are the Fender Stratocaster and the Cosmonaut found on the AR Quick Look Gallery website. The reason that I chose those particular assets is because the Fender Stratocaster is a static USDZ file (it’s also just a really cool 3D model) and the Cosmonaut is an animated USDZ file.
The third 3D model is something that I wanted to push the boundaries with so I took a 3D printing project that I created (a life-size Pikachu) and used photogrammetry with Reality Composer to turn it into a USDZ file:
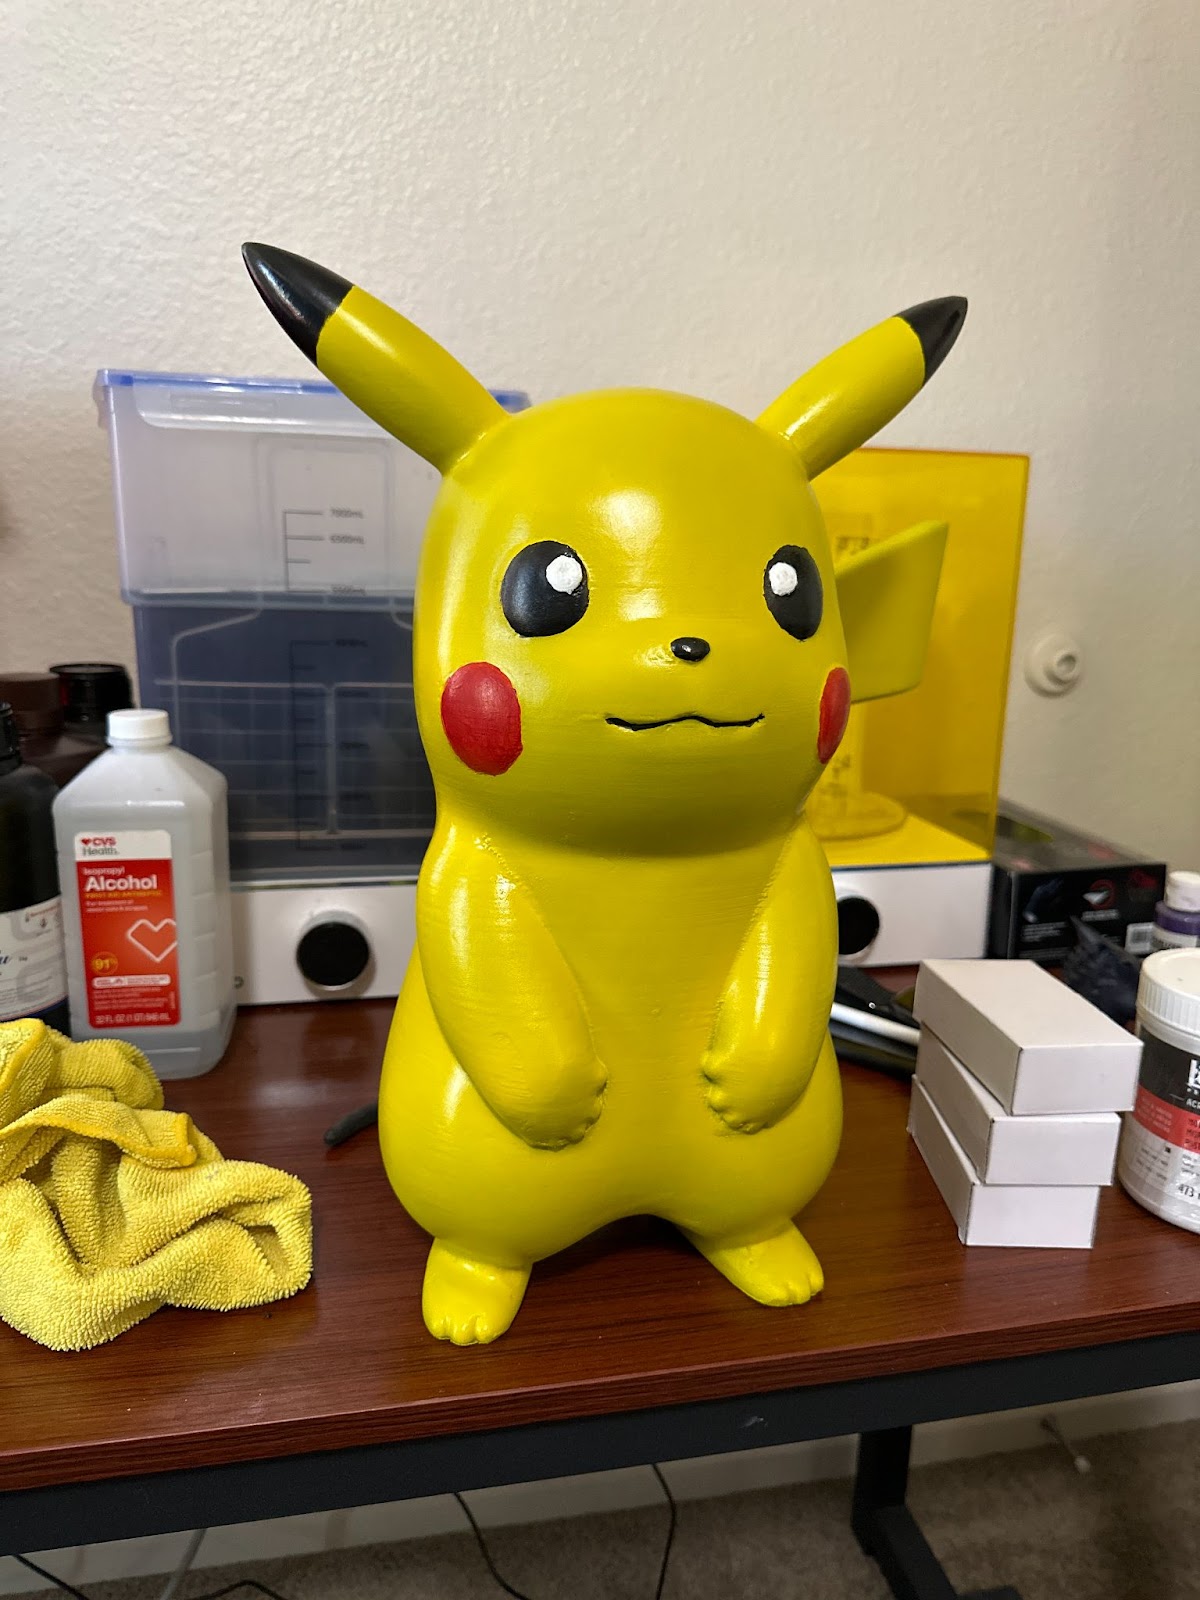
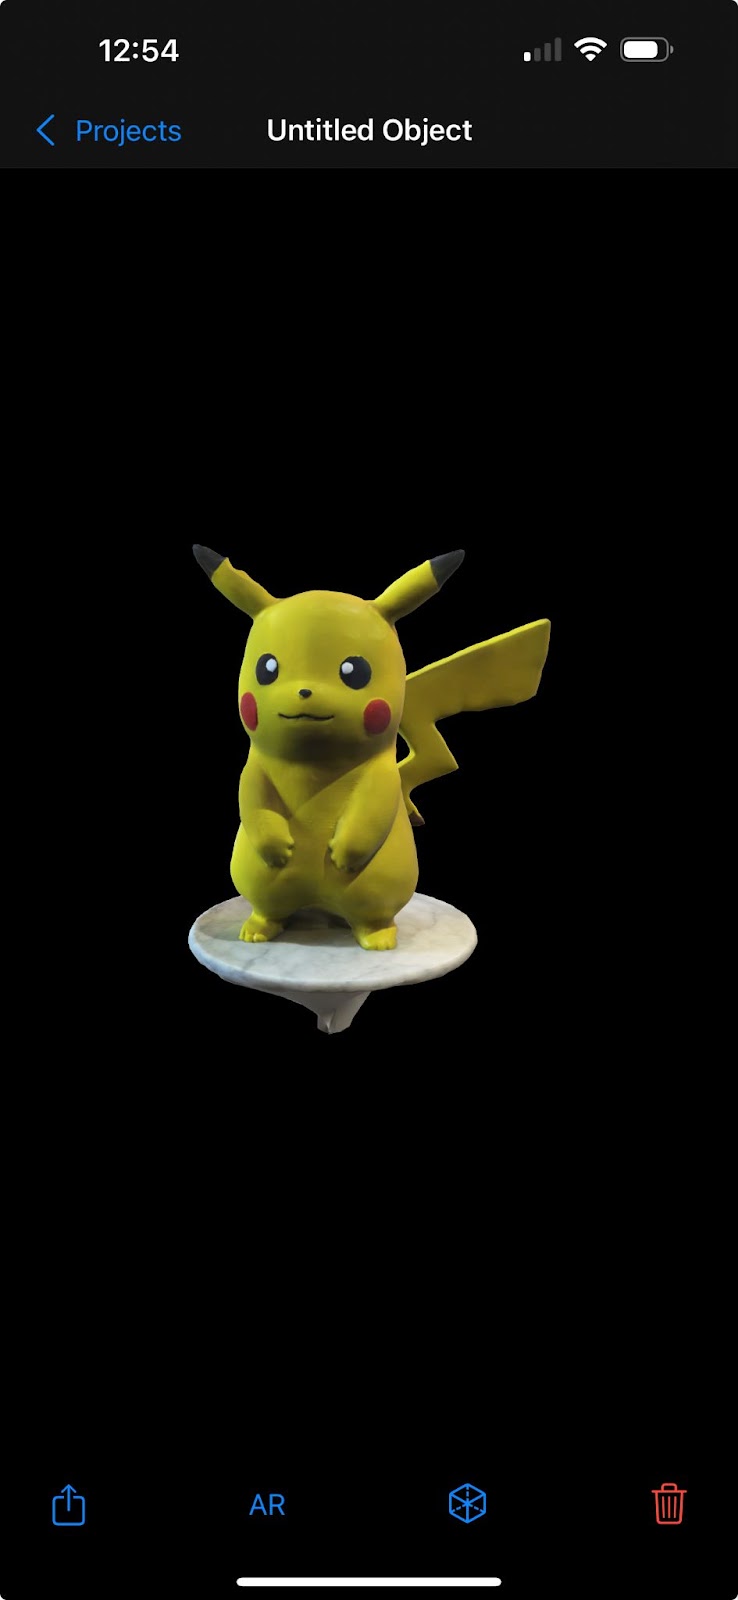
I chose this route because I wanted to show that you can incorporate your own USDZ files and not just be locked in with what is provided by Apple. More information on Reality Composer can be found here.
Once you have your models, it’s time to upload them to your S3 bucket:
- Navigate to your S3 bucket
- Click “Upload”
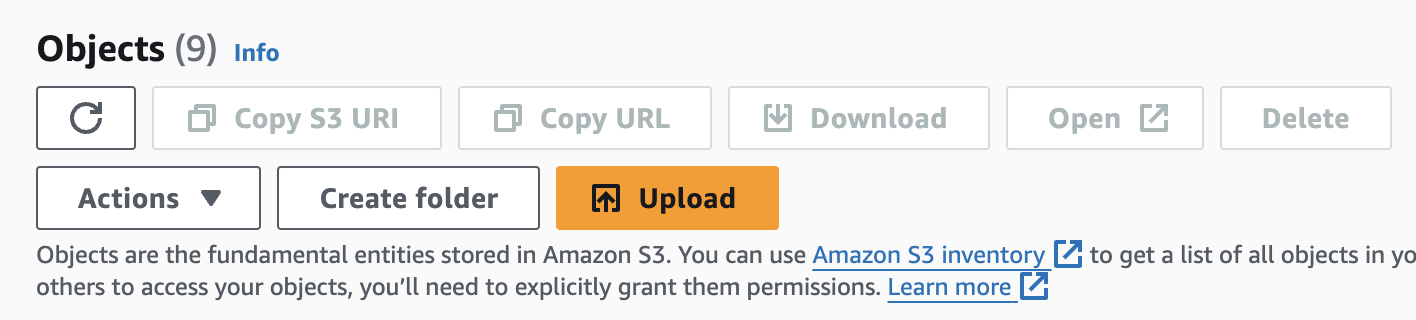
- Drag your file to the “drag and drop” section of the upload screen
- Click the “Properties” drop down
- Go to “Metadata” and change the Type to “System defined”, Key
to “Content-Type”, and Value to “model/vnd.usdz+zip”

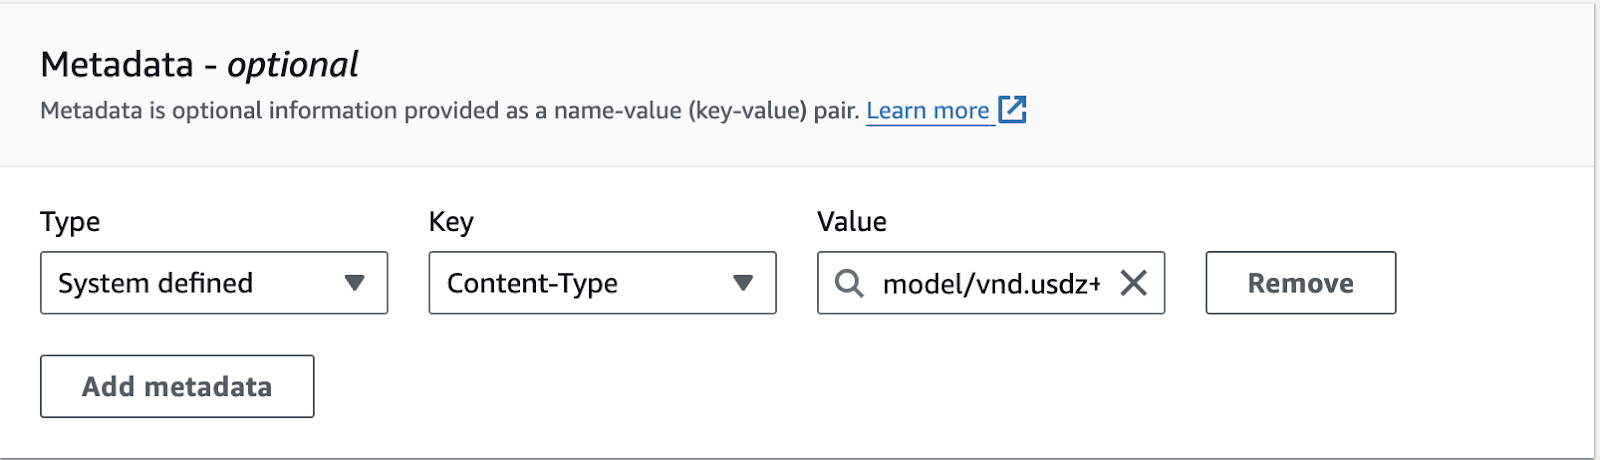
- Click “Upload”
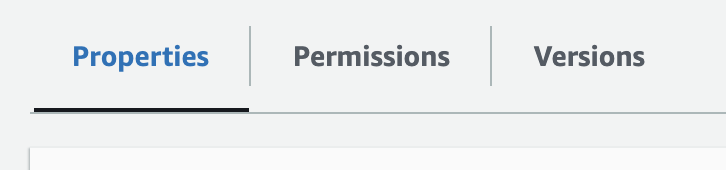
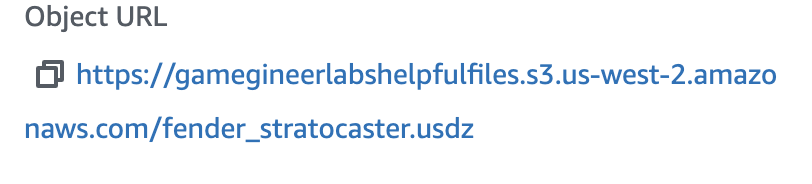
- Click on your USDZ file again and go to “Properties”
- Copy the URLs for each of you USDZ files in the Object URL
Static Web Application
The static website for the life-sized Pikachu is pretty straightforward. I created a basic Angular web application named arquicklookweb utilizing Ionic Framework to make it mobile friendly. I built the application with ng build and uploaded the contents of the dist folder in a similar way as the USDZ files. The only exception is that I uploaded the contents of the dist folder to the static website bucket and skipped adding model/vnd.usdz+zip in the properties since this is a static website instead of a USDZ file.
This is the HTML that we will need to make this work:
<a rel="ar" id="ApplePay" href="https://gamegineerlabshelpfulfiles.s3.us-west-2.amazonaws.com/Pikachu.usdz#applePayButtonType=plain&checkoutTitle=Pikachu&checkoutSubtitle=Electric%20Mouse&price=$500.00">
<img class="xt-lazy-img" src="/assets/usdz/pikachu.jpg">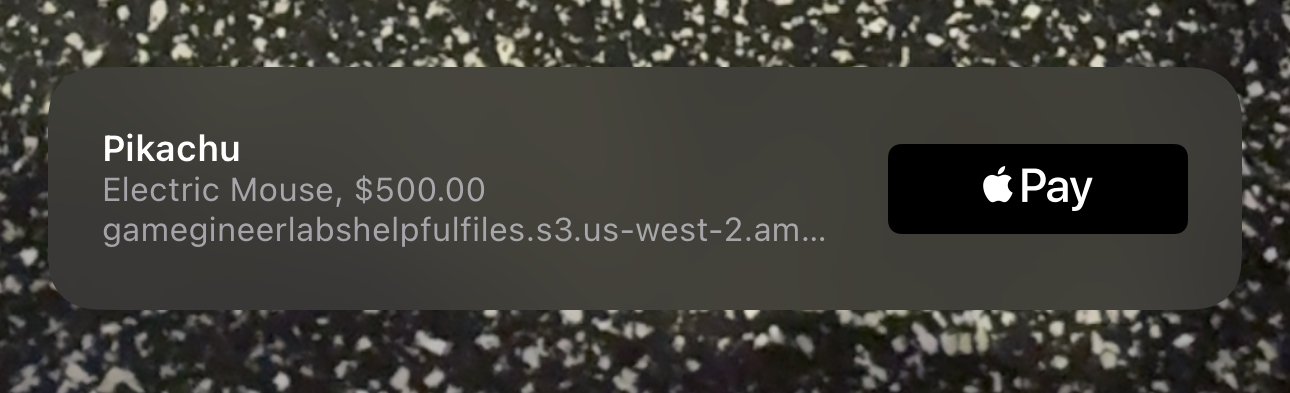
</a>By adding “ar”, “ApplePay”, and #applePayButtonType=plain&checkoutTitle=Pikachu&checkoutSubtitle=Electric%20Mouse&price=$500.00 it will tell Safari how to handle the file as well as what to display for the banner. In this case the banner will show a plain Apple Pay button with a title of “Pikachu”, a subtitle of “Electric Mouse”, and a price of “$500”
Here is the full HTML on the static web application:
<ion-content [fullscreen]="true">
  <ion-card>
    <a rel="ar" id="ApplePay" href="https://gamegineerlabshelpfulfiles.s3.us-west-2.amazonaws.com/Pikachu.usdz#applePayButtonType=plain&checkoutTitle=Pikachu&checkoutSubtitle=Electric%20Mouse&price=$500.00">
      <img class="xt-lazy-img" src="/assets/usdz/pikachu.jpg">
    </a>
    <ion-card-header>
      <ion-card-title>Pikachu</ion-card-title>
      <ion-card-subtitle>#0025</ion-card-subtitle>
    </ion-card-header>

    <ion-card-content>
      When it is angered, it immediately discharges the energy stored in the pouches in its cheeks... This 3D print is friendly and purchasable!
    </ion-card-content>
  </ion-card>
</ion-content>
The code for the full static Angular web application can be found here.
Capacitor
Now that we’ve gone through all the configuration steps, it’s straightforward to get a Capacitor application setup and ready to work with AR Quick Look:
- Create a new Capacitor application (I used Angular so you’ll need to adjust this if you are using a different framework)
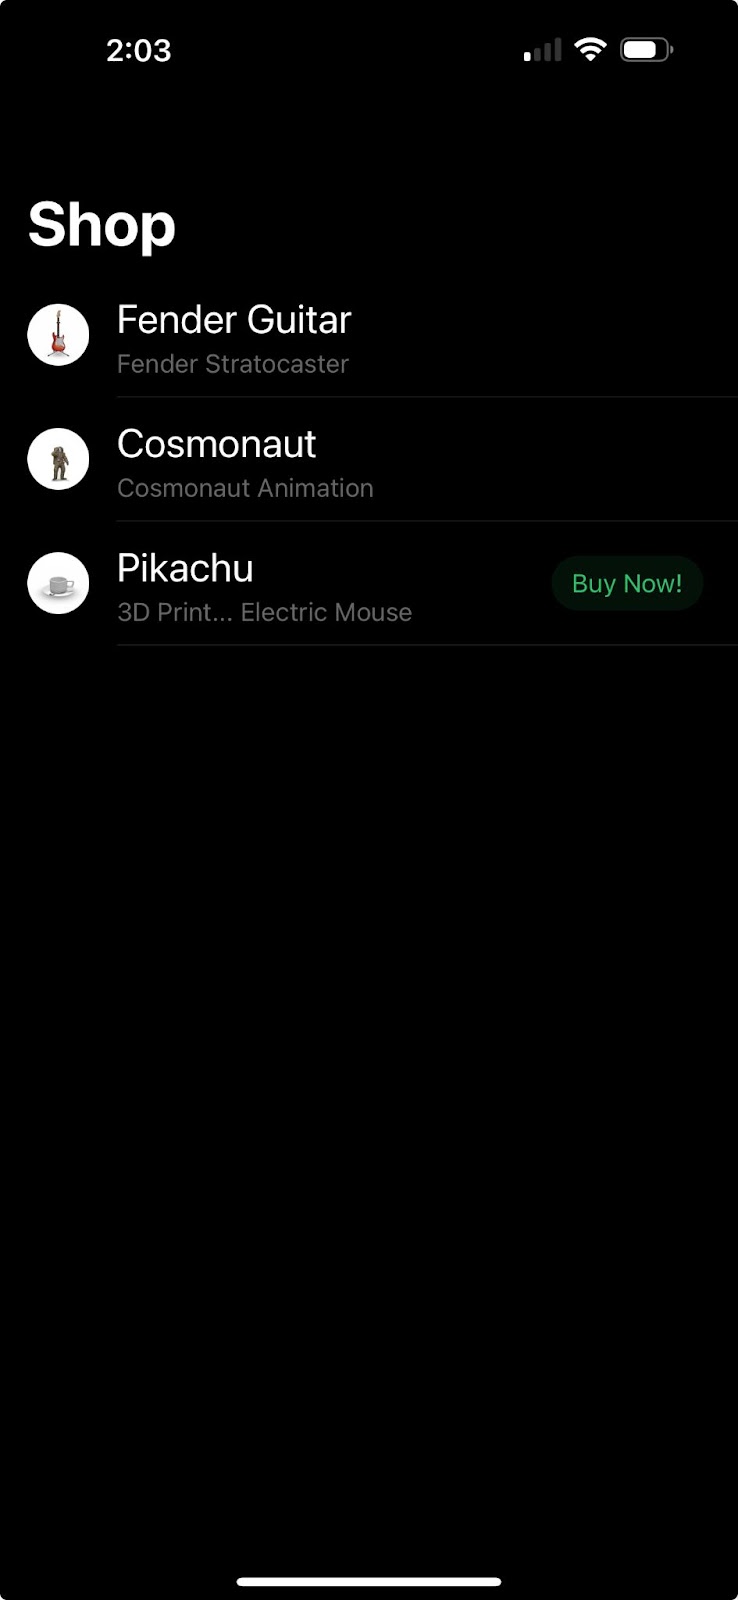
ionic start ARQuickLook blank --type=angular- Once bootstrapped, go to your home.page.html file and paste in the following HTML
<ion-header [translucent]="true">
  <ion-toolbar>
    <ion-title>
      Shop
    </ion-title>
  </ion-toolbar>
</ion-header>

<ion-content [fullscreen]="true">
  <ion-header collapse="condense">
    <ion-toolbar>
      <ion-title size="large">Shop</ion-title>
    </ion-toolbar>
  </ion-header>

  <ion-list>
    <ion-item (click)="openAR('guitar')">
      <ion-avatar aria-hidden="true" slot="start">
        <img alt="" src="/assets/usdz/stratocaster.jpeg" />
      </ion-avatar>
      <ion-label>
        <h1>Fender Guitar</h1>
        <p>Fender Stratocaster</p>
      </ion-label>
    </ion-item>
    <ion-item (click)="openAR('cosmonaut')">
      <ion-avatar aria-hidden="true" slot="start">
        <img alt="" src="/assets/usdz/cosmonaut.png" />
      </ion-avatar>
      <ion-label>
        <h1>Cosmonaut</h1>
        <p>Cosmonaut Animation</p>
      </ion-label>
    </ion-item>
    <ion-item (click)="applePay()">
      <ion-avatar aria-hidden="true" slot="start">
        <img alt="" src="/assets/usdz/cupandsaucer.jpeg" />
      </ion-avatar>
      <ion-label>
        <h1>Pikachu</h1>
        <p>3D Print... Electric Mouse</p>
      </ion-label>
      <ion-chip color="success">Buy Now!</ion-chip>
    </ion-item>
  </ion-list>
</ion-content>- Import the Capacitor Browser plugin
npm install @capacitor/browser- Then go to home.page.ts and paste in the following code
import { Component } from '@angular/core';
import { Browser } from '@capacitor/browser';

@Component({
  selector: 'app-home',
  templateUrl: 'home.page.html',
  styleUrls: ['home.page.scss'],
})
export class HomePage {

  constructor() {}

  async openAR(item: string) {
    if (item == "guitar") {
      await Browser.open({ url: 'https://gamegineerlabshelpfulfiles.s3.us-west-2.amazonaws.com/fender_stratocaster.usdz', presentationStyle: 'popover'});
    } else {
      await Browser.open({ url: 'https://gamegineerlabshelpfulfiles.s3.us-west-2.amazonaws.com/CosmonautSuit_en.reality', presentationStyle: 'popover'});
    }

  }

  async applePay() {
    await Browser.open({ url: 'https://arquicklookwebsite.s3-website-us-west-2.amazonaws.com/', presentationStyle: 'popover'});
  }

}- Add iOS
ionic capacitor add ios- Build the Capacitor project
ionic capacitor build- Sync the project to get your Capacitor project to the ios folder
ionic capacitor sync- Open the project in XCode
ionic capacitor open iosThis will open your Capacitor application in XCode and you should be able to run this on your iOS device
Apple Vision Pro
Now for the cool part! Since we spent all that time with configuration and architecting our AR application, we can now run our project on the Vision Pro! If you want to test it out, all you need to do change your run destination from your physical device to either your own Apple Vision Pro or the Vision Pro simulator:
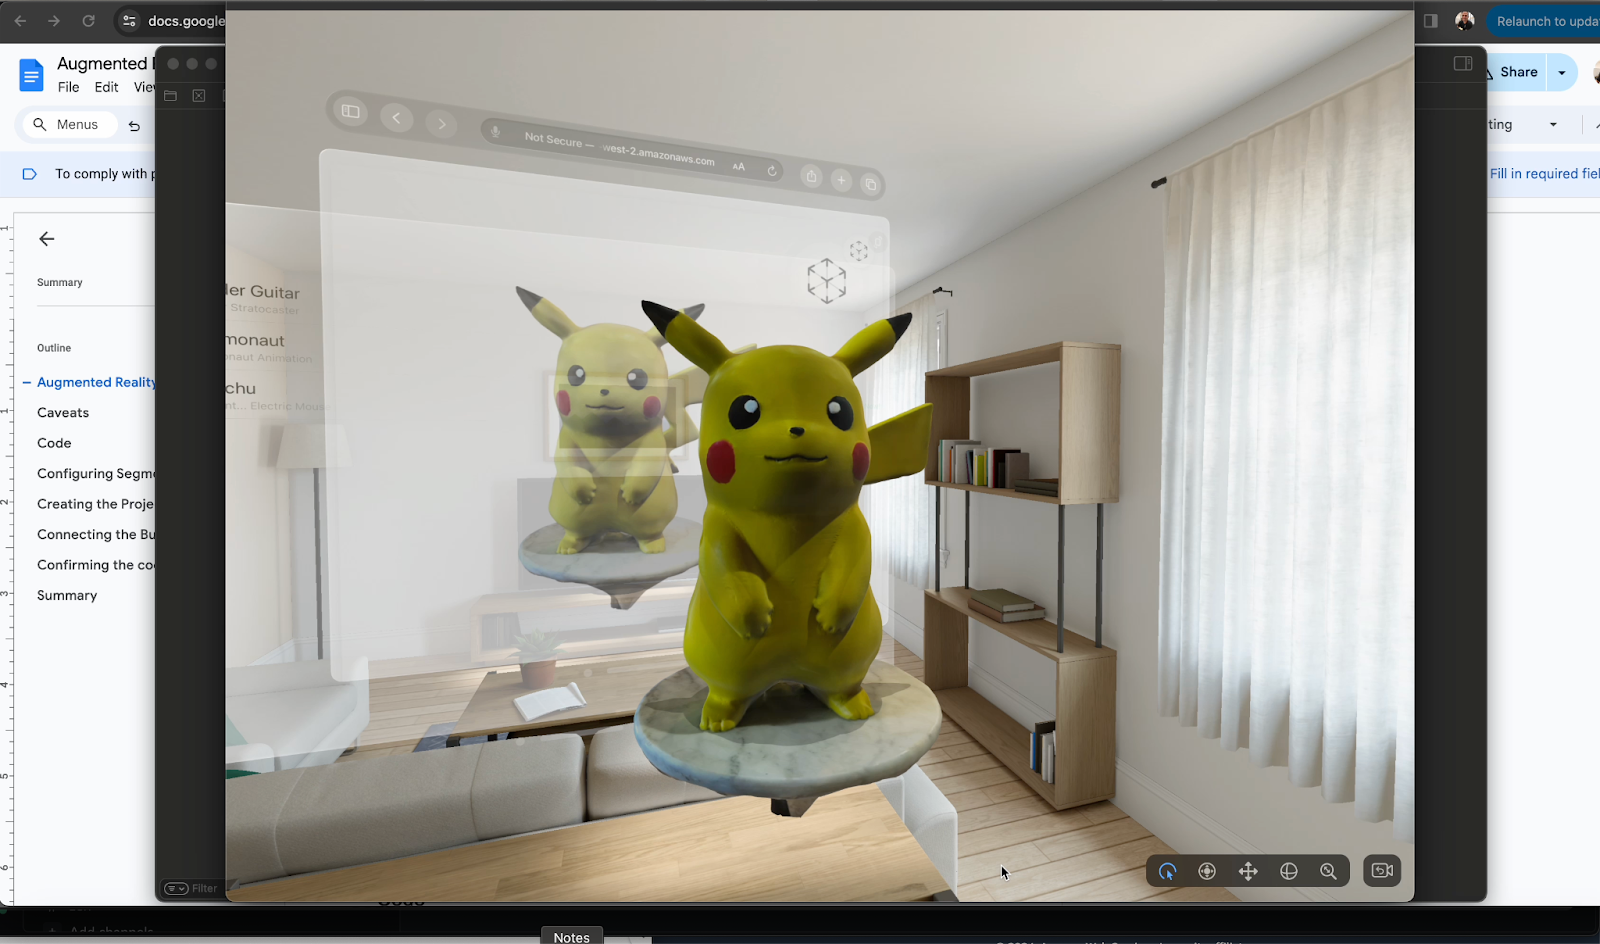
That’s it. It literally works by default- no special configuration needed and we didn’t even need to add any Swift/SwiftUI to make this work on the Vision Pro!
Summary
AR can be a challenging endeavor for any web developer but it’s entirely possible to create your own AR experiences without having to dive into native code to make it happen. In this tutorial I was able to create a full AR Quick Look experience utilizing all web technologies, only relying on some configuration to make it work. Swift/SwiftUI with ARKit can be really challenging for even seasoned developers so by bypassing it and using basic Capacitor plugins with Safari, you can really tone down the difficulty if you want to incorporate it into your own projects.
In future iterations, I plan on incorporating some custom Capacitor plugin work to make this a truly embedded experience. Be on the lookout for upcoming tutorials where I will show you how to get the most out of ARKit in your Capacitor applications!
Resources
Below is the code if you would like to follow along, as well as resources that will help you with your own Capacitor AR Quick Look Project:
- Projects:
- Capacitor Documentation: https://capacitorjs.com/docs
- USDZ 3D Files: https://developer.apple.com/augmented-reality/quick-look/
- AR Quick Look Tutorial: https://developer.apple.com/documentation/arkit/arkit_in_ios/previewing_a_model_with_ar_quick_look
- AR Quick Look Documentation: https://developer.apple.com/documentation/quicklook
- AR Banners Documentation: https://developer.apple.com/documentation/arkit/arkit_in_ios/adding_an_apple_pay_button_or_a_custom_action_in_ar_quick_look
- AWS S3 Documentation: https://docs.aws.amazon.com/AmazonS3/latest/userguide/configuring-block-public-access-bucket.html
- Reality Composer Documentation: https://developer.apple.com/documentation/realitykit/creating-3d-content-with-reality-composer
- Reality Composer Video Tutorial: https://www.youtube.com/watch?v=jarQ0LIklLw
The post Augmented Reality With Capacitor: AR Quick Look appeared first on Ionic Blog.
Read more https://ionic.io/blog/augmented-reality-with-capacitor-ar-quick-look